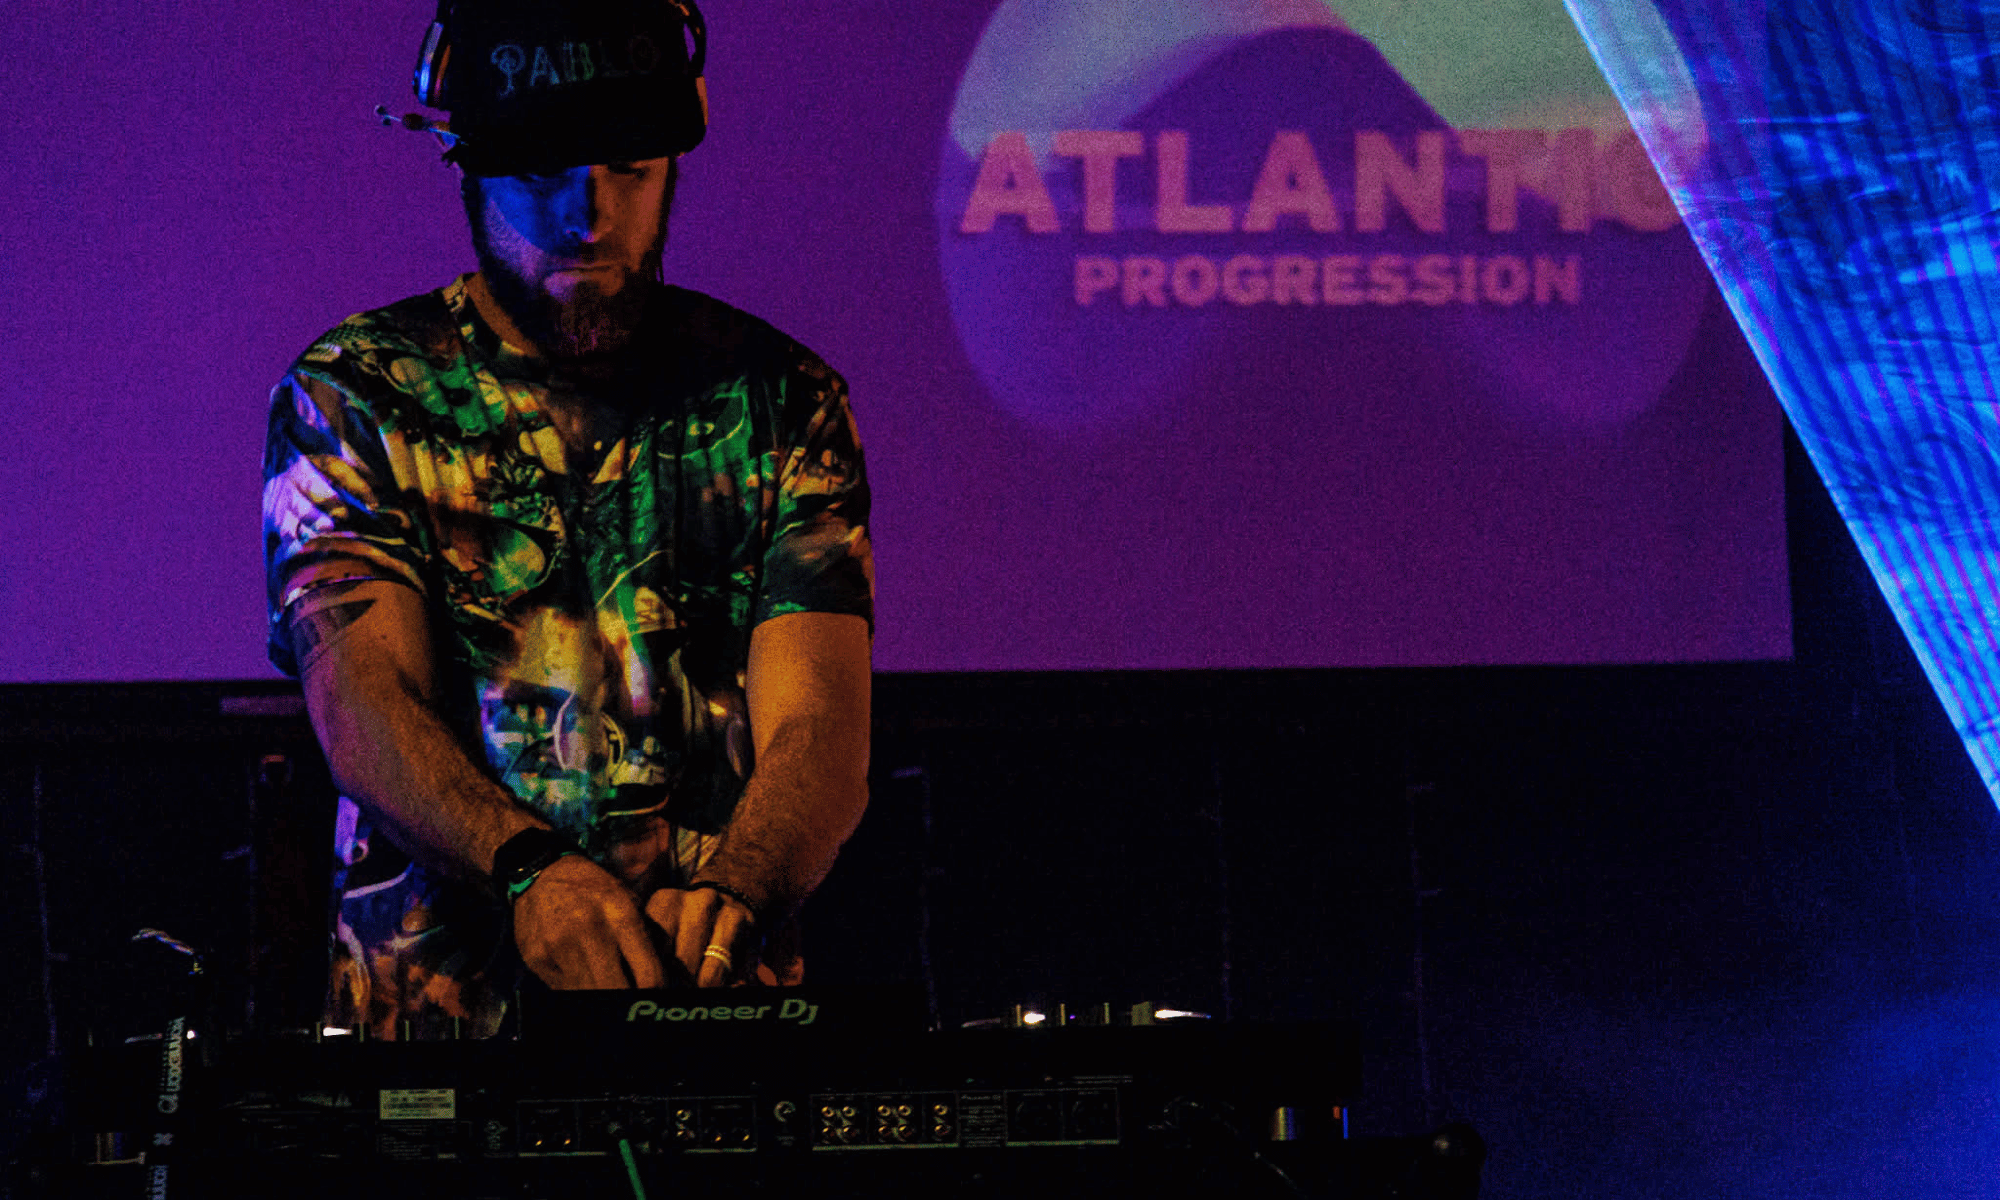
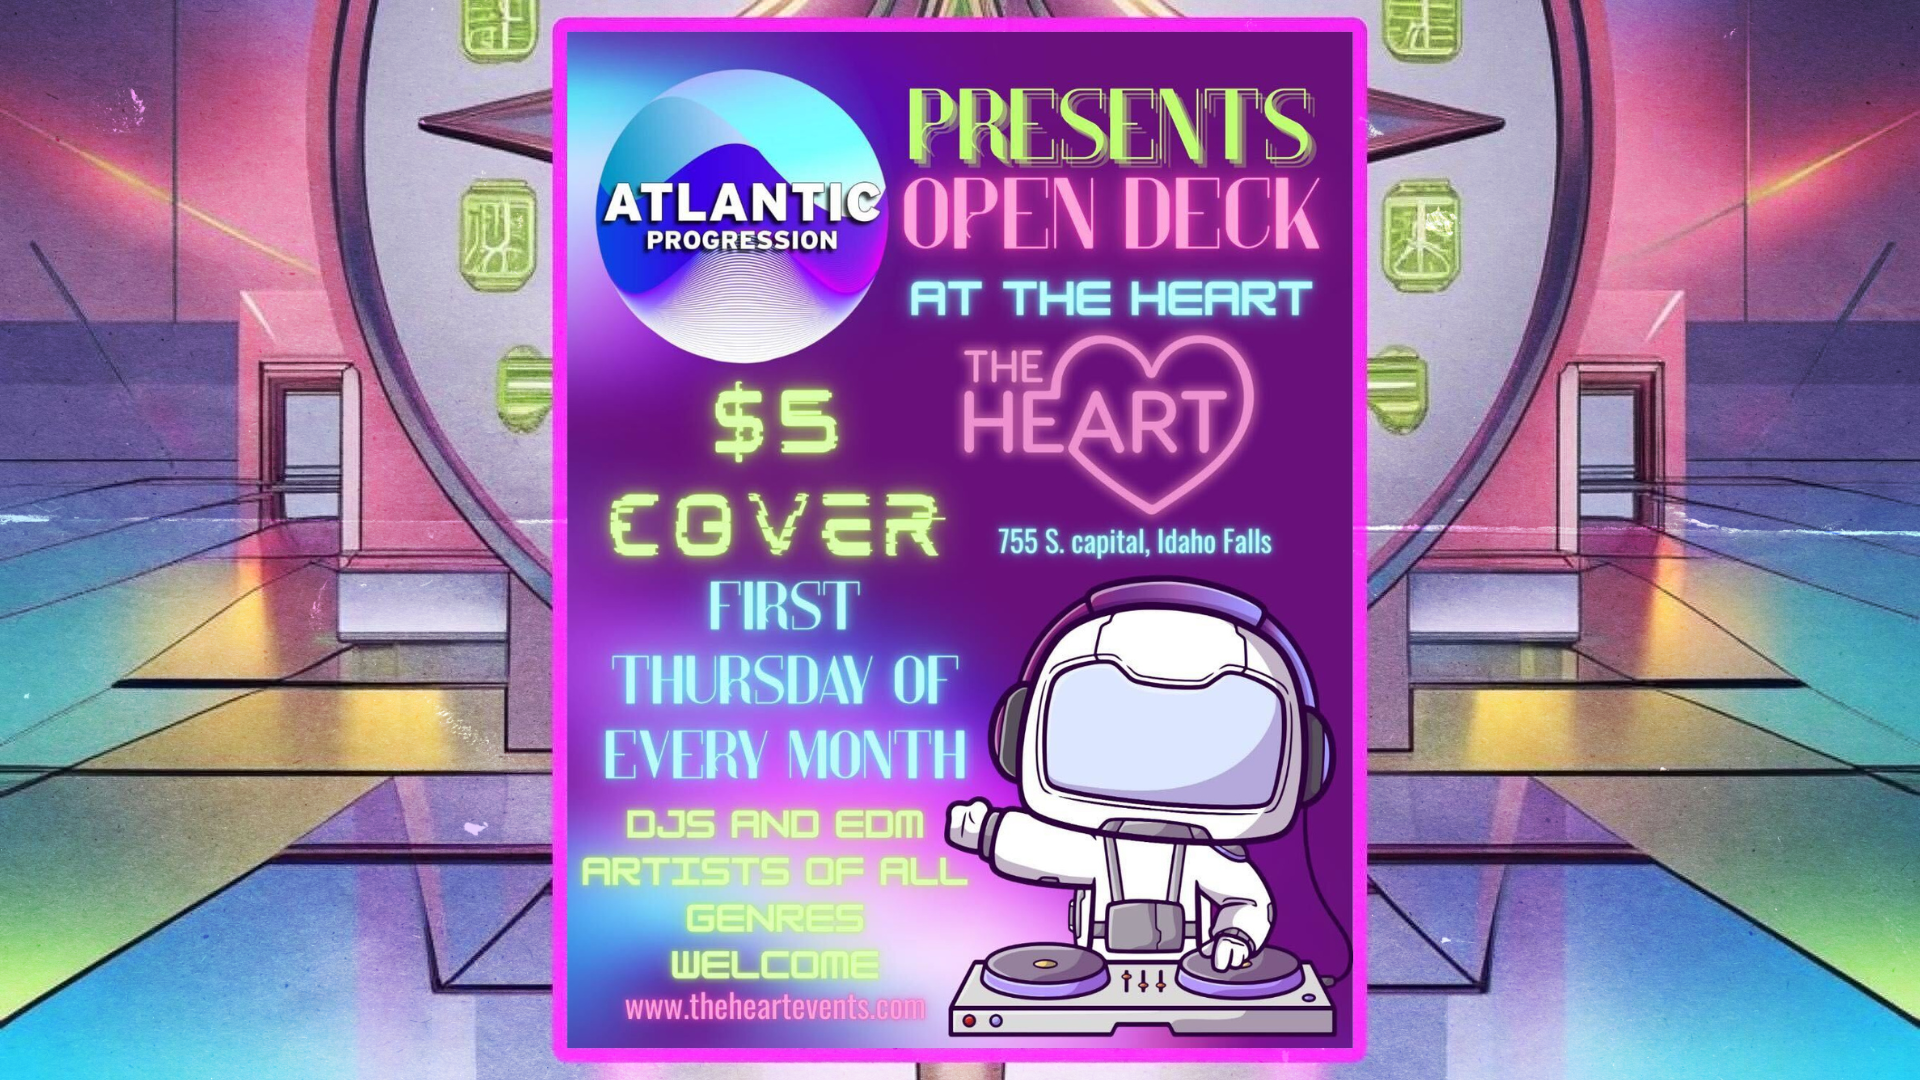
How To Set Up OBS To Stream To Atlantic Progression Via Restream

We want your live stream on our Mixcloud channel to be as flawless as possible. In order to do so, here are the instructions you should use to set up OBS to stream to Atlantic Progression via Restream. 

We use Restream because it give us the ability to easily change the stream key for each guest DJ that streams to our channel. Restream also allows us to retain a recording of your show as well. Finally, Restream also allows us to simultaneously stream your show to our Twitch channel.

How to set up OBS to stream to Atlantic Progression via Restream

  1. Open OBS Settings and Select “Stream” in the side menu
  2. Service Dropdown – Select “Restream.io”
  3. Server Dropdown – Select “Autodetect”
  4. Stream Key – Enter the stream key that was supplied to you for your show.
  5. Select “Output” in the side menu and click on the “Streaming” tab
  6. Output Mode – Select “Advanced”
  7. Audio Track – Make sure audio track 1 is set. This is usually set by default.
  8. Encoder – Select “x264”
  9. Rate Control – Select “CBR”
  10. Bitrate – Set the video bitrate to 2500 Kbps or lower. Please do not set the bitrate higher than 2500 Kbps as this can cause streaming issues depending on your internet connection. 2500 Kbps or lower will usually ensure a stable stream. Remember, people care more about the music you are playing, rather than how clear your video stream looks.
  11. Keyframe Interval – Enter the number 2 here.
  12. CPU Usage Preset – Select “veryfast”
  13. Profile – Select “main”
  14. Click on the “Audio” tab to set up your audio bitrate
  15. Audio Bitrate – Select 320 for the audio bitrate. Mixcloud supports this bitrate and it sounds the best for the audience. Take note of the track you are setting this for. The track needs to match up with the track you have selected in step 7 above. Track 1 is usually the default.
  16. Select “Video” from the side menu to set up your video resolution output
  17. Base (Canvas) Resolution – Select “1280×720”
  18. Output (Scaled) Resolution – Select “1280×720”
  19. Downscale Filter – Select “Bicubic”
  20. Select “Common FPS Values” from the dropdown – Then, select “30” from the dropdown
  21. Select “Advanced” from the side menu
  22. Color Format – Select “NV12”
  23. Color Space – Select “709”
  24. Color Range – Select “Partial”
  25. Save your settings – You are ready to stream – Depending on your operating system (Mac or PC), click “Apply” or “Save” and then click “OK” to save your settings. Leave all other settings in these menus and screens at their default values. You only need to apply the settings indicated in this how-to guide. 
  26. You will be given your streaming key at least 24 hours before your show. It is HIGHLY recommended that you test your stream during this time to ensure that your video and audio stream is stable. If not, you will likely need to make additional adjustments in your OBS software. Our resident DJs can assist you as reasonably as possible. However, we are unable to troubleshoot your hardware remotely and it is up to you to make sure that your hardware and OBS software is compatible.